The Best Ferns for Container Gardening and Tips for Successful Care
Ferns are a versatile and visually appealing addition to any garden, but they can also thrive beautifully in pots and containers. Their lush, feathery fronds and vibrant green colors make them attractive for indoor and outdoor spaces. This comprehensive guide will explore some of the best fern varieties for container gardening and provide essential tips to ensure their successful growth and maintenance.
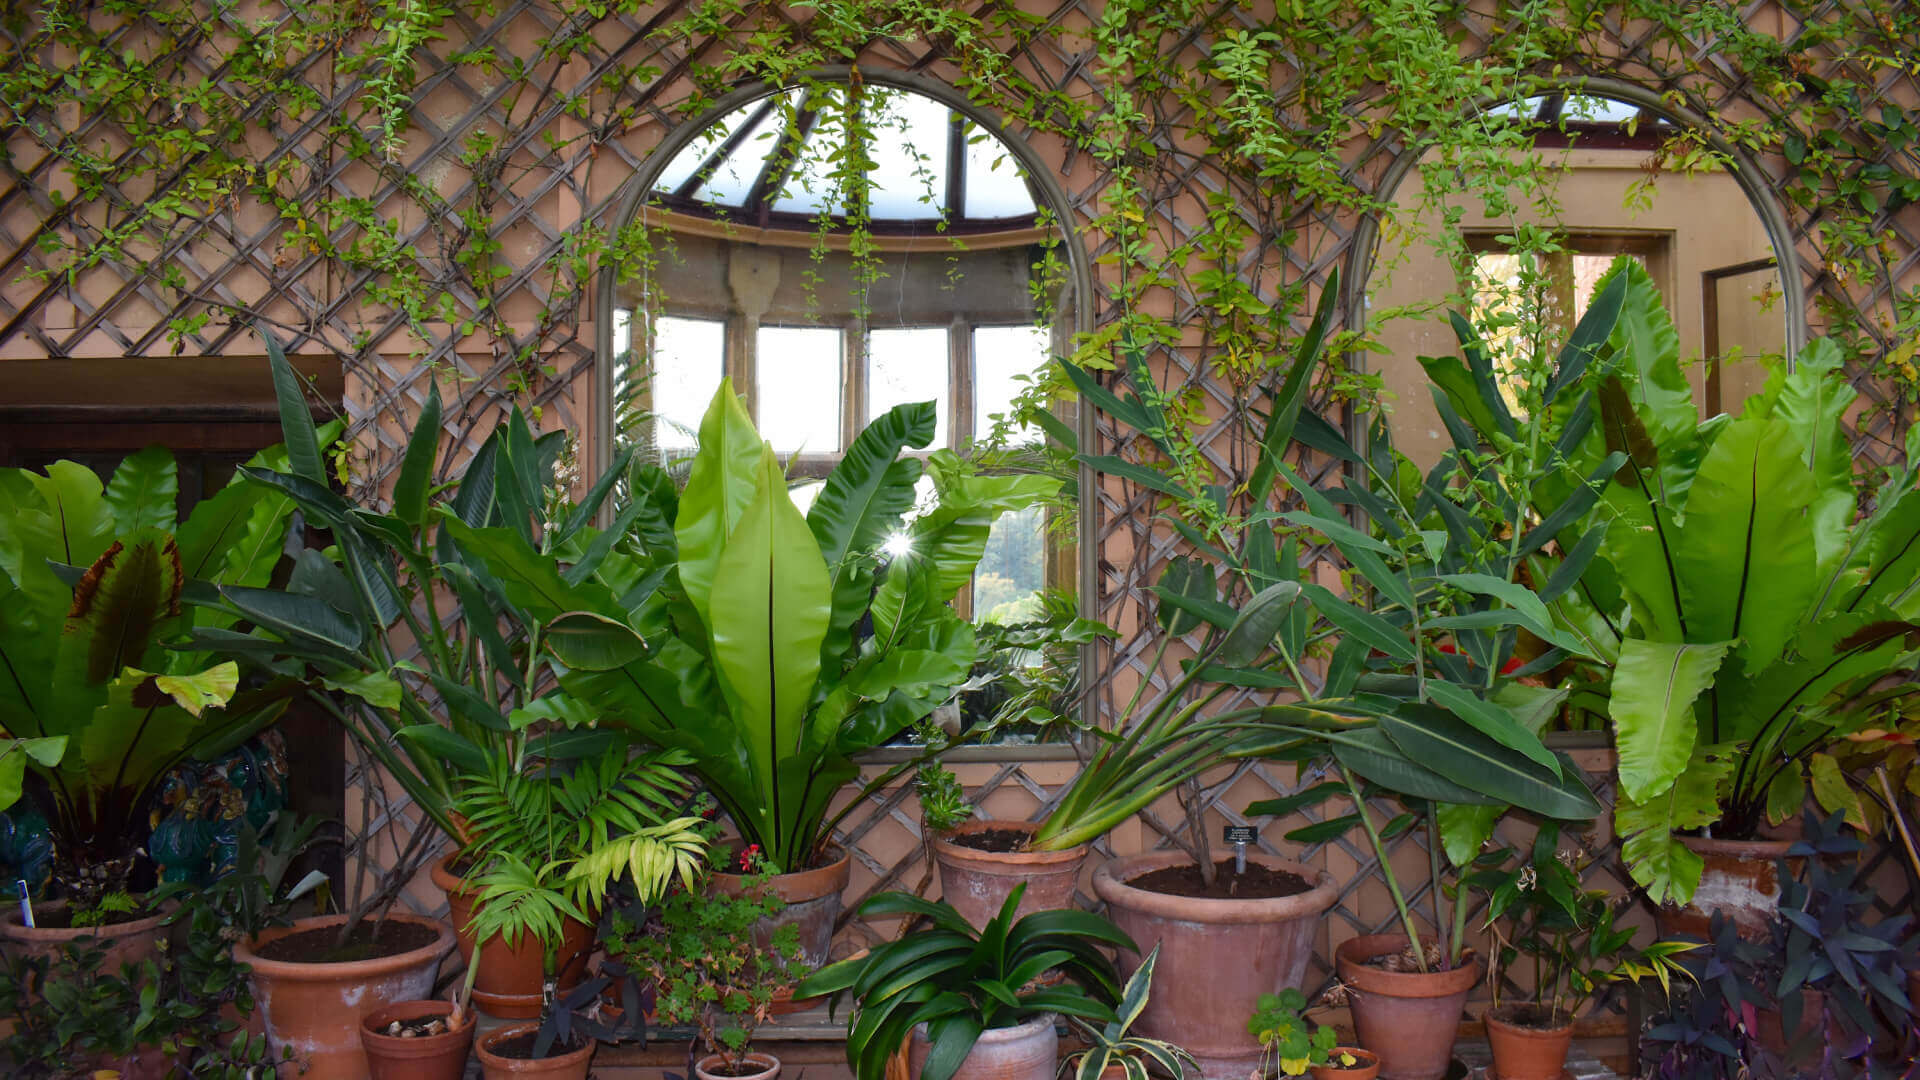
FernsWhether you're a seasoned gardener or a beginner, this guide will help you create a thriving fern-filled oasis in your own space.
Tips for Successful Care of Ferns in Containers:
Once you've chosen the suitable ferns for your container garden, providing them with the proper care is essential to ensure their health and vitality.
Here are some valuable tips for successful fern care:
Choose the Right Container: Select pots or containers with good drainage to prevent waterlogging, as ferns dislike sitting in standing water. Ensure the container is large enough to accommodate the fern's root system and allow room for growth.
-
Gardening
- Use Quality Potting Mix: Ferns thrive in a well-draining potting mix that retains moisture without becoming soggy. A blend of peat moss, perlite, and pine bark is suitable. Consider adding organic matter like compost to improve soil structure.
- Provide Adequate Drainage: To enhance drainage, use pots with drainage holes and place a layer of gravel or small stones at the bottom of the container. Elevate the pot on pot feet or bricks to prevent it from sitting directly on a saucer.
- Light Requirements: Understand the light preferences of your chosen fern variety and place the container accordingly. Ensure your fern receives the right amount of light, whether it's full shade, partial shade, or indirect sunlight. Rotate the container occasionally to ensure even growth.
- Watering: Consistent moisture is crucial for ferns—water thoroughly when the top inch of soil feels dry to the touch. Watering from the bottom by placing the pot in a saucer of water for a short time can help ferns absorb moisture efficiently. Avoid overhead watering, as it can lead to fungal issues.
- Humidity: Ferns thrive in high-humidity environments. To increase humidity around your container ferns, regularly mist them or place a tray of water and pebbles near the container.
- Fertilization: Fertilize your ferns with a balanced, water-soluble fertilizer at half strength every 4-6 weeks during the growing season (spring to early fall). Reduce fertilization during the winter months when ferns are less active.
- Pruning and Maintenance: Trim dead or yellowing fronds to encourage new growth and maintain the plant's appearance. Report your fern every 2-3 years to refresh the soil and provide room for growth.
- Pest and Disease Management: Look for common fern pests like mealybugs, scale insects, and spider mites. If an infestation occurs, treat it promptly with insecticidal soap or neem oil. Maintain good air circulation to prevent fungal diseases.
- Winter Care: If you live in a climate with harsh winters, consider bringing your container ferns indoors to protect them from freezing temperatures. Please place them in a bright, cool room away from direct heat sources.
Container gardening with ferns can be a rewarding and visually stunning endeavor. By selecting suitable fern varieties and following these essential care tips, you can create a thriving fern-filled oasis in your own space, whether a cozy indoor corner or a charming outdoor patio. Remember that patience and consistent care are crucial to enjoying the lush beauty of ferns in containers. With proper attention, your ferns will flourish, providing you with years of natural elegance and tranquility.
Top Ferns for Container Gardening: A Green Touch for Your Home
Ferns are often overlooked in container gardening, yet they offer a stunning elegance that can transform any space. Their graceful fronds create a serene atmosphere that is both inviting and peaceful. Potting ferns is a beautiful way to bring their charm indoors or to add liveliness to patios. Some varieties thrive beautifully in pots, allowing you to appreciate their natural beauty up close.
Among the top picks is the Boston Fern, cherished for its dense, feathery leaves. This fern loves humid environments and regular watering, making it an excellent fit for shaded patios or bathrooms with abundant moisture. Providing it with slightly acidic, well-draining soil will help it flourish. Another lovely choice is the Maidenhair Fern, which showcases delicate, fan-shaped leaves that add a touch of sophistication. It prefers filtered light and requires consistently moist soil, so regular attention to watering is critical.
The Kimberly Queen Fern is another fantastic option, known for its upright, sword-like fronds. Unlike the Boston Fern, this variety can handle more sunlight, making it ideal for spaces with dappled light. Additionally, it's low maintenance with less shedding. For those looking for something unique, the Rabbit's Foot Fern stands out with its fuzzy rhizomes that spread across the soil's surface. It thrives in low light, perfect for those snug indoor nooks.
Tips for Caring for Potted Ferns
To successfully grow potted ferns, start with the correct container. Choose pots with good drainage to avoid overly wet roots, as ferns can easily suffer from rot due to overwatering. Combining peat moss, perlite, and potting soil creates an outstanding moisture retention and airflow balance. Position your ferns in spots with indirect sunlight, steering clear of harsh, direct rays that can damage their delicate fronds.
Regular watering is crucial since ferns prefer consistency. Keep the soil moist without waterlogging, and consider misting the foliage during dry spells to keep them happy. Feeding ferns with a diluted liquid fertilizer every few weeks during their growing period helps keep their vibrant green colors shining. And as they grow, don't hesitate to divide them to start fresh with new pots.
By selecting suitable ferns for your containers and giving them the proper care, you can enjoy these plants' lush, vibrant beauty even in the tiniest of spaces.
DIY Fern Planter: A Step-by-Step Guide to Growing Healthy, Lush Ferns
Container gardening with ferns adds woodland elegance to your living space or outdoor garden. Crafting your DIY pot offers practical benefits and satisfaction whether you need extra space or want to create an appealing decorative element for your fern to thrive. Creating your container allows you to select materials and design your planter while improving your plant's growing conditions. This guide explains how to construct your custom fern planter step by step while offering essential maintenance tips for vibrant fern leaves.
1. Choosing the Right Materials
The first step to making a DIY container involves choosing appropriate materials. Ferns grow best in conditions that replicate their natural environment, including shaded areas with moist soil yet drains properly. You must select a material that provides strength and proper drainage for your fern planter. Some popular choices include:
Wood: Redwood and cedar boards are good options because they naturally resist rotting. When they receive appropriate finishing treatment, wooden planters create a rustic appearance that fits outdoor spaces and interiors.
Concrete: A concrete planter will deliver a modern industrial look for your space. A concrete planter becomes a heavy object, which makes it perfect for stationary applications.
Terra Cotta or Ceramic Fragments: Use broken pots and tile pieces to create a mosaic decoration on the surface of an ordinary planter. This design method will result in a unique container with its decorative appeal.
No matter what material you use, always include a hole at the bottom of your planter for drainage. Sound drainage systems prevent root rot in ferns by stopping excessive moisture buildup in the soil.
2. Designing and Constructing Your DIY Container
Measure and Plan: Before you begin construction, you need to establish the proper dimensions for your container. Ferns require sufficient space for root development, so planting them in pots between 8 and 12 inches in diameter usually provides enough space, but you may need larger pots based on the fern's mature size. The container should have a minimum depth of 8 inches.
Build the Base: You need to cut wooden planks according to your selected measurements. Join the sides together by driving in nails or wood screws. The container base should be strong enough to hold the soil with its water content and support the plant as it grows. When shaping concrete, you can build a mold from plywood materials or adapt existing boxes for pouring.
Reinforce and Seal: When selecting wood for your project, apply a treatment or sealant to protect it from moisture. A waterproof coating applied to the inside of a planter will increase its lifespan. After completing your concrete pot creation, allow it to cure fully before sanding its sharp edges.
Create Drainage: Place several holes at the planter base through drilling or molding methods with one big hole or multiple smaller ones. The health of ferns demands proper drainage, so the holes at the bottom of the planter should always remain clear.
3. Choosing the Right Soil Mix
A well-draining potting mix with a slight acidity level and consistent moisture works best for ferns without becoming waterlogged. Mix high-quality potting soil with equal amounts of peat moss or coco coir and perlite to create a suitable planting medium. Peat moss (or coco coir) preserves essential moisture, and perlite enables proper drainage while preventing soil compaction. Maintaining proper moisture levels is critical because ferns demand constant hydration but risk root rot when excessive water stays in their root environment.
4. Planting Your Fern
Prepare the Container: Your new container should contain your potting mix up to halfway full. Carefully remove the fern from its nursery container and loosen the root ball to help the roots seek nutrients in the new growing medium.
Position the Fern: Position the fern in the middle of your DIY container so that the crown (where fronds connect to roots) remains below the container's rim.
ScentedFill and Lightly Press: Pack your potting mix around the root ball and apply light pressure to eliminate air gaps. Do not plant the crown below the surface to prevent rot and foster healthy growth.
5. Providing Ideal Conditions
Watering: Ferns typically enjoy consistently moist soil. When the top layer of soil exhibits slight dryness, it is time to water your plant thoroughly. Ensure the plant does not accumulate excess water that fails to drain correctly from the pot.
Humidity: A fern's best friend is humidity. Place your plant container alongside other plants to form a microclimate, or position a shallow tray with pebbles and water underneath the pot. When water evaporates nearby, the fern benefits from increased humidity.
Lighting: Most ferns flourish in moderate, indirect light. To protect delicate fronds from burning under direct sunlight, position indoor ferns near bright windows and outdoor ferns in spots with partial shade.
Temperature: Your fern should be maintained at moderate temperatures while avoiding locations with drafts or proximity to heat vents that could cause stress to the plant.
6. Maintaining Your DIY Planter
Report your fern when you notice roots emerging from drainage holes or when its growth weakens. Report your fern into an enormous container when necessary, or switch to another homemade pot to exercise your creativity. Eliminate dead and yellow fronds from your plant to support new growth while preventing disease. Your fern will remain healthy when you irregularly apply water-soluble balanced fertilizer at half strength.
Creating your DIY container requires some work, but it allows you to customize your planter to fit your fern's requirements and your personal interior or exterior design style. When you provide your fern with good drainage, the proper soil mix, and careful maintenance, it will develop lush and delicate fronds that improve your home or garden with a touch of natural greenery.


