

Best Practices for Planting Perennials in Early Spring
Perennials that flower in late summer or early fall are generally planted in the spring, while spring and early summer flowering perennials are generally planted in the fall. We ship bare root perennials during both seasons. Here are some tips for planting your new plants to give them the best chance of a long life.
What Are Perennials?
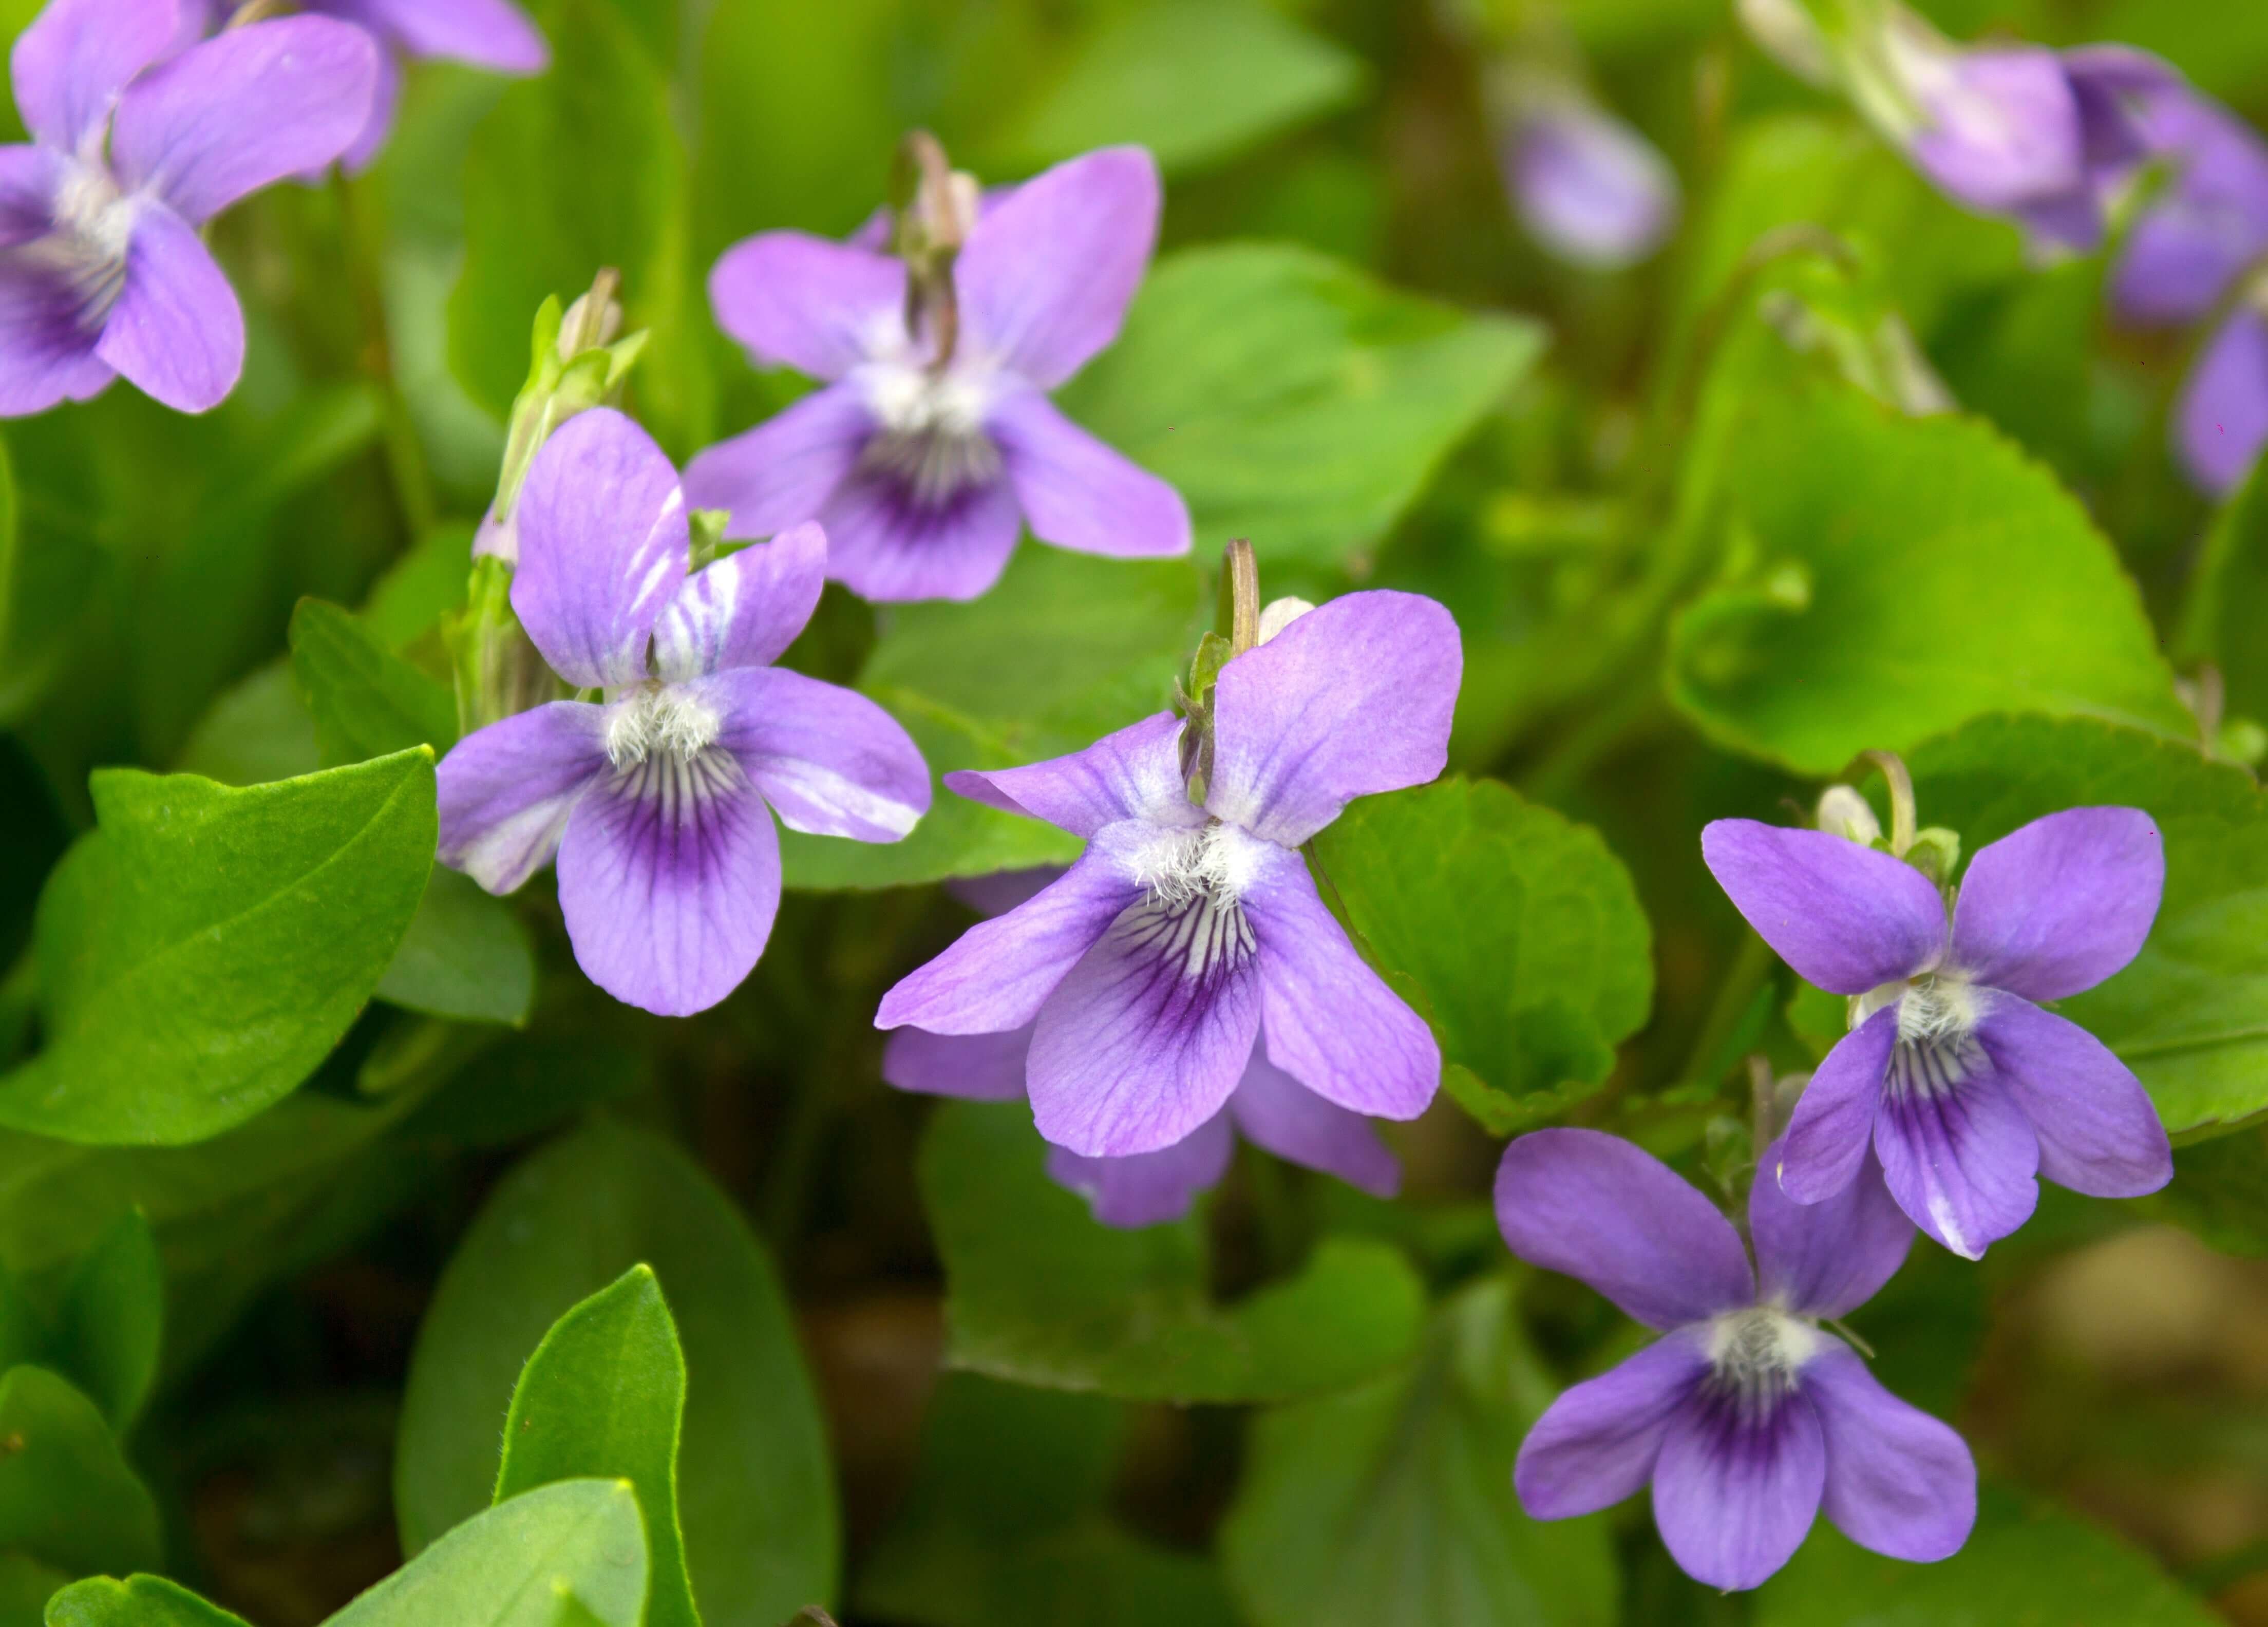
Perennial plants are herbaceous plants that may die back to the ground, but the crown and roots remain to grow again in the spring. They will live more than two years, and many live decades if cared for properly. They are called perennial plants because they only have to be planted once to last, as opposed to annuals that must be replanted every year.
Advantages And Disadvantages of Bare Root Plants
Our perennials are shipped bare root, meaning just the crown and roots of the plant with no soil attached. Bare root plants are easily shipped, making it possible to obtain good plants from online or mail order nurseries such as ours. Some rare plants can only be obtained as bare root plants. In addition, bare root plants are the most economical way to purchase large quantities of plants. You can purchase large quantities of plants such as the cardinal plant economically for erosion control or butterfly weed to landscape a housing development.
However, bare root plants must be planted promptly and before growth begins in the spring. They also tend to be smaller than container grown plants when you receive them. Bare root plants catch up to container grown plants when they are mature.
Preparing Your Gardening Area To Plant
Before you get your perennials through the mail or at a nursery, it is a good idea to prepare the place in your garden where you plan to put them. If you have not done a soil test in the last 2-3 years, it is a good idea to do one now. When you receive the results, fertilize the area the way the report recommends.
Preparing Your Bare Root Perennials For Transplant
As soon as you receive your plants, unpack them. The packing material should be damp, but not soggy. The buds and growth tips should be green and firm. Plan to plant your new perennials as soon as possible after you receive them.
If you cannot plant the perennials within a day or two, store them with the packing material around them in an area that is no more than 40 degrees so they will not break dormancy. Keep the packing material moist. Don’t let the plants freeze.
Soak the bare roots in water for 30-60 minutes right before planting. Prune off broken or damaged roots.
Planting Best Practices
After the roots have soaked, you are ready to plant your perennial.
Dig a hole that is two to two and a half times the diameter of the plant roots. Dig the hole about six inches deeper than the roots.
Place a cone of soil in the bottom of the hole.
The crown should rest on the top of the cone, with the roots spread out fully around it.
Back fill the hole with the soil that came out of it.
Do not put fertilizer in the hole as it will burn the roots.
If the instructions that came with the plant specify the depth to bury the crown, follow them. If the crown depth is not specified, bury it just below the surface of the soil.
Make a soil ring about three inches high just outside of the hole you dug. This will hold water so it will soak in instead of running off.
Water the newly planted perennial in.
If you are planting a large number of plants, take care to keep them in a container in the shade and plant in batches. Do not let the roots dry out while they wait to be planted. Do not soak them longer than the recommended time, either. Both conditions will reduce the survival rate of your plants.
After Care For Newly Planted Perennials
You will need to water your new plants every day for the first two weeks. After that, gradually extend the time between watering until you water once a week in cool climates and twice a week when it is hot. Each time you water, fill the ring of earth around the plant with water and let it soak in. Deep watering promotes deep roots, allowing the plant to survive with less supplemental watering. Deep roots also reduce the likelihood of a plant falling over because of wind or rain.
When your plant is four inches tall, mulch around it. Make a donut of mulch with a space between the plant and the mulch of 2-3 inches, then mulch three inches deep from that point to the soil ring. Mulch will help keep dampness and keep weeds from competing with your plants for sunlight, food, and water.
Do not fertilize the plant for at least four weeks after planting. The root hairs will be very tender at first. Fertilizer can easily damage the root hairs and stunt or kill the plant.
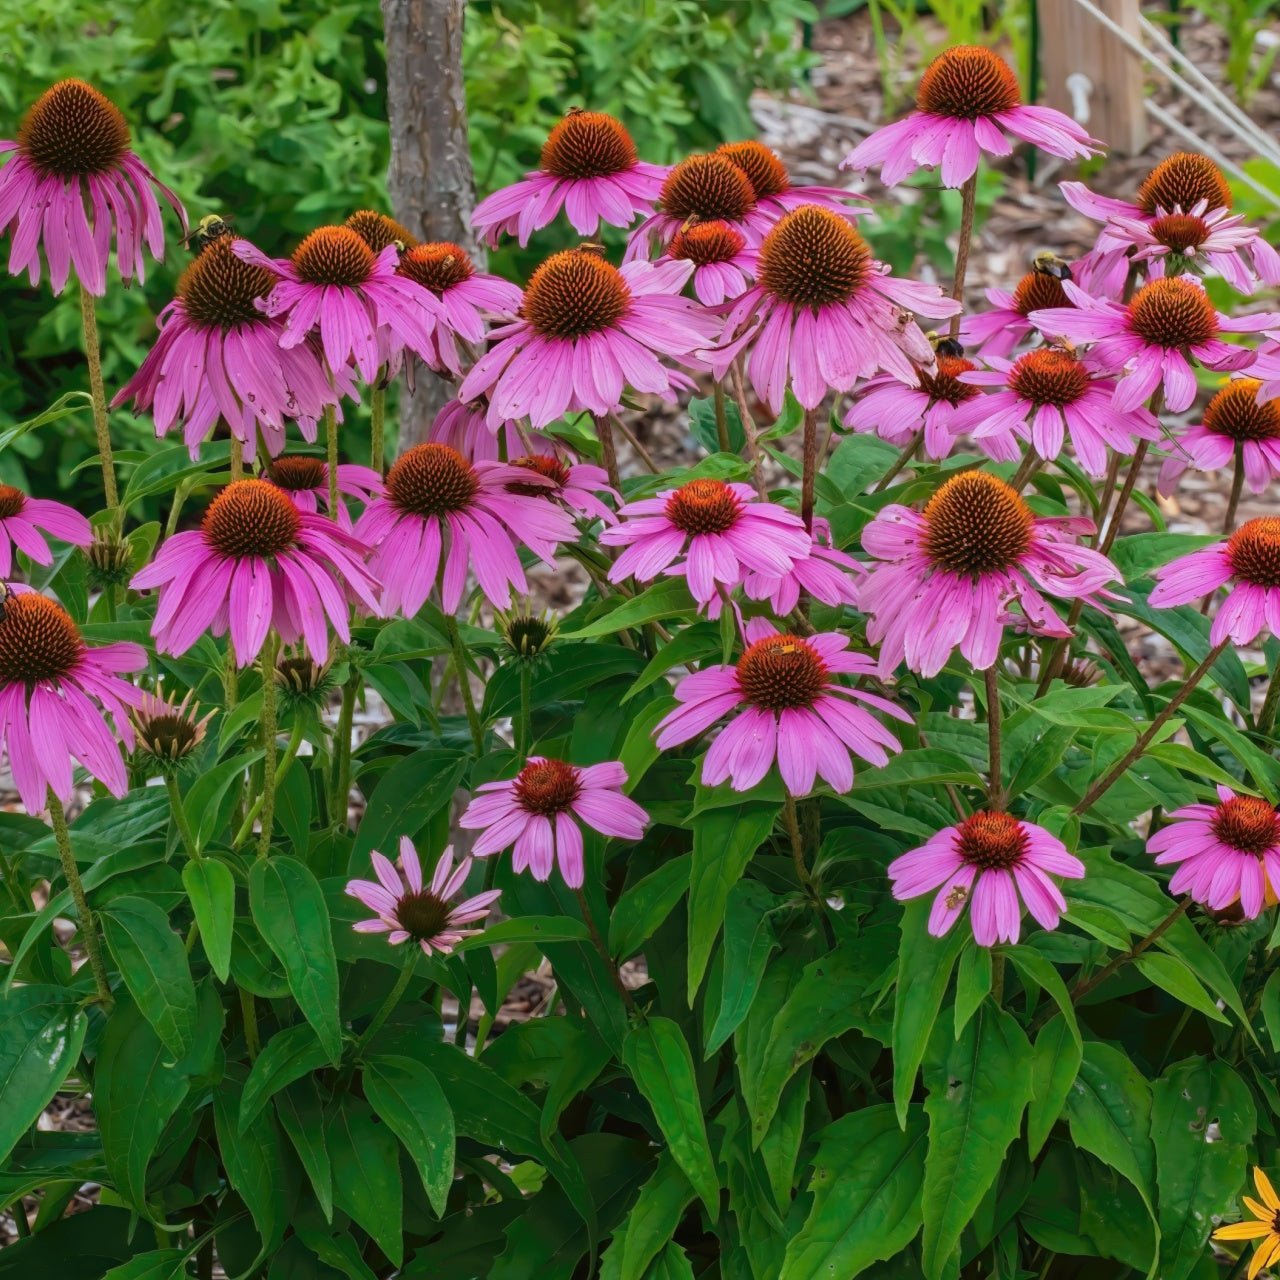
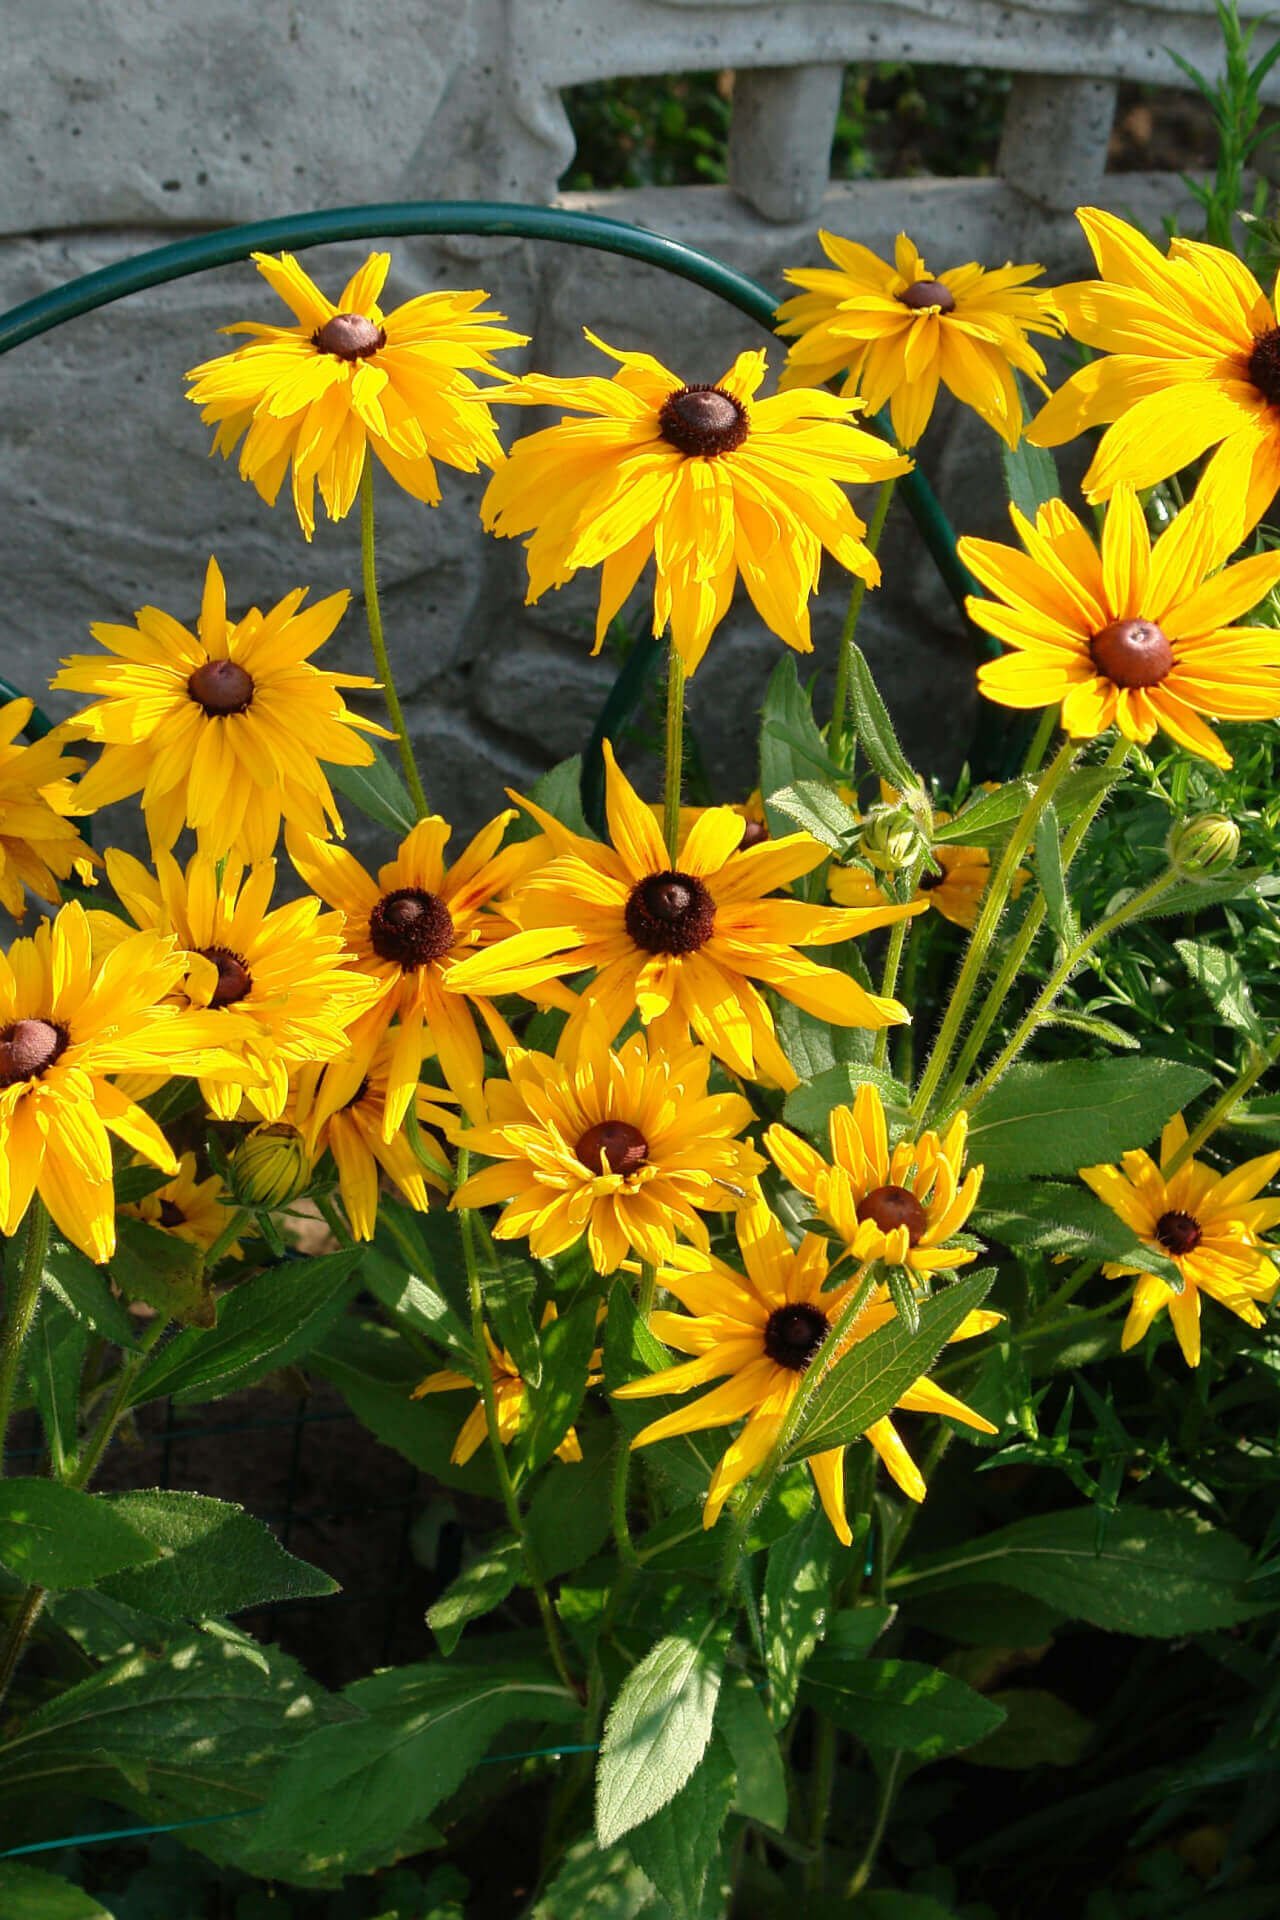
Most perennial bare root plants are shipped as one year old plants. Most perennials, such as purple coneflower and black-eyed susan, become established one year after being planted, but some don’t really take off until the third year. You should expect flowering plants to bloom by the third year after they have been planted. Many begin flowering sooner. Berry and fruit producing perennials may not start to produce fruit until they are at least 3-4 years old. Be patient and you will be rewarded with healthy, productive plants.
Building Your Own Spring Planting Bed: A Guide to Location and Construction
Creating your own garden bed for spring planting is incredibly fulfilling, allowing you to cultivate flowers, herbs, or vegetables in a space designed to fit your requirements. The initial stages of building your garden bed and selecting the right location are essential steps that lead to successful plant growth. This short guide will assist you with planning, constructing, and placing your spring planting bed.
The first step in planning your garden bed should involve defining its size and shape. A rectangular bed measuring three to four feet wide lets you access every spot without stepping inside. Proper layout maintains loose and aerated soil, which prevents soil compaction, which is essential for plant growth. Your yard space and plant quantity will determine the necessary length of your bed. Home garden beds usually measure eight to ten feet long but should be modified according to your available space and specific requirements.
After deciding on the dimensions, collect the necessary materials. To construct the frame, use untreated lumber that resists rot, such as cedar or redwood. Avoid using pressure-treated wood because its chemical components can migrate through the soil. Begin with cutting the wood according to your bed's dimensions. To construct a rectangular frame, use exterior-grade screws or nails to fasten the corners while maintaining squareness and levelness throughout the structure. Extra support brackets or stakes will help preserve its shape and stability if the bed frame extends considerably.
Place your bed on an even surface with proper drainage. For areas with grass or weeds, lay down landscaping fabric or cardboard over the ground or remove the sod top layer to eliminate unwanted plant growth. The frame should contain topsoil mixed with compost and organic materials like well-rotted manure or leaf mold. Mixing approximately two parts of topsoil with one part of compost will produce a fertile setting for plant growth. Gently rake the soil mixture and ensure it is level throughout the planting area.
Picking the right spot for your garden bed holds equal importance as constructing the bed itself. Your garden bed should be positioned with at least six hours of direct sunlight daily because most flowers and vegetables perform best when exposed to abundant sunlight. Plants in regions with severe summer heat might benefit from some protection from direct sunlight during peak afternoon hours. Also, consider accessibility for watering. Proximity to a water source or a suitable rain barrel location greatly simplifies garden maintenance tasks. Ensure your garden bed has sufficient surrounding space because narrow pathways can hinder plant care activities.
Careful construction planning combined with strategic placement for sunlight balance and watering convenience will lead to a thriving spring garden. When you build a raised bed, you will improve your soil quality while boosting your plant success and gaining enjoyment from maintaining a lively garden.
Products from the article
Read more

Spring is an important time for plants. Their stored energy is almost used up. They are about to put on a burst of new foliage. Many plants will also be blooming and developing fruits and seeds soo...

In the early 20th century, deer were almost wiped out by hunting. These days, they seem to be everywhere. Deer can cause tons of damage to a landscape. Here are some tips to keep your landscape dee...